How to Cancel Merchant Services and Switch To a New Provider
Feeling stuck with a merchant services provider that no longer meets your needs? Many businesses hold off switching, hoping for better rates, service, or the perfect time — only to keep waiting month after month.
The truth is that, with the right plan, switching merchant services doesn’t have to be complicated, and will save you a lot of time, money, and nerves in the long run.
QUICK AND EASY ONLINE APPLICATION
Fast approvals & unparalled support
In this guide, we will cover two crucial areas: how to cancel your current merchant services and the steps you should follow to painlessly switch to a new provider.
Before that, a quick detour to review the most common (and viable) reasons for changing providers.
Common reasons to switch merchant service providers
Over the years, we worked with dozens of merchants who switched to SecureGlobalPay because they were unsatisfied with their current provider and setup.
Here are the most common problems they cite:
- Unexpected processing fees or hidden charges: Many merchants were surprised by unclear pricing or costs that weren’t disclosed upfront. They believed that they could get better rates elsewhere.
- Unresponsive or unhelpful customer service: Whenever there was a problem, the support was slow or ineffective, causing merchants to bleed money unnecessarily.
- Outdated or unreliable payment technology: The equipment they got had many problems: slow terminals, frequent outages, connectivity issues, etc.
- Limited ways for customers to pay: Their current setup didn’t support modern payment options like Apple & Google Pay, Text-to-Pay, Tap-to-Pay, and similar.
- No room to scale or grow: As their business expanded, some providers couldn’t offer the tools or flexibility needed to scale efficiently.
- Sudden account closures or service terminations: In some cases, providers ended services with little notice, forcing merchants to make a fast switch. This is a common story for high-risk merchants who try to use payment aggregators like PayPal or Stripe.
In many cases, merchants experienced more than one of these issues, prompting them to contact SecureGlobalPay and seek a better solution.
How to cancel merchant services
Whether you are trying to cancel your First Data merchant services or terminate a contract with a smaller provider, the general steps are pretty much the same.
1. Review your contract
If you haven’t already done so, carefully review your current merchant services agreement. This will help you avoid surprises and understand what you’re responsible for. Pay attention to:
- The contract term and expiration date: Find out how long your agreement lasts and whether you’re nearing the end of the term. This can affect fees or penalties.
- Auto-renewal clauses and required notice periods: Some contracts automatically renew unless you give notice within a specific time frame — often 30 to 90 days before the end date.
- Equipment return or lease obligations: If you leased or were provided with payment equipment (like a terminal or POS system), check if it needs to be returned and whether any lease payments are still owed.
- Early termination fees (ETFs): Many providers charge a fee if you cancel before your contract ends. Know what that fee is and how it’s calculated (as they come in a few different forms — see the image below).

There are situations where you can challenge or avoid paying early termination fees (ETFs). Common examples include experiencing a lack of guaranteed features and rates, unexpected charges not disclosed in the agreement, frequent technical issues that interrupt your ability to process payments, and similar issues that could be considered a breach of contract.
2. Contact customer support
Once you’ve gone through your contract, contact your provider’s customer support team. This step is important to avoid any missteps during the cancellation process. Be sure to question and confirm anything you’re not 100% sure about, like:
- The exact steps for cancellation: Ask what you need to do to formally end the agreement — some providers require a written notice, others may have an online process.
- Any documentation they require: They may ask for a signed form, a letter of intent, or proof of equipment return.
- Whether there are outstanding balances or fees: Check if you owe any final processing fees, monthly charges, or early termination fees before the account can be closed.
Having this conversation upfront will help you avoid last-minute delays or unexpected charges.
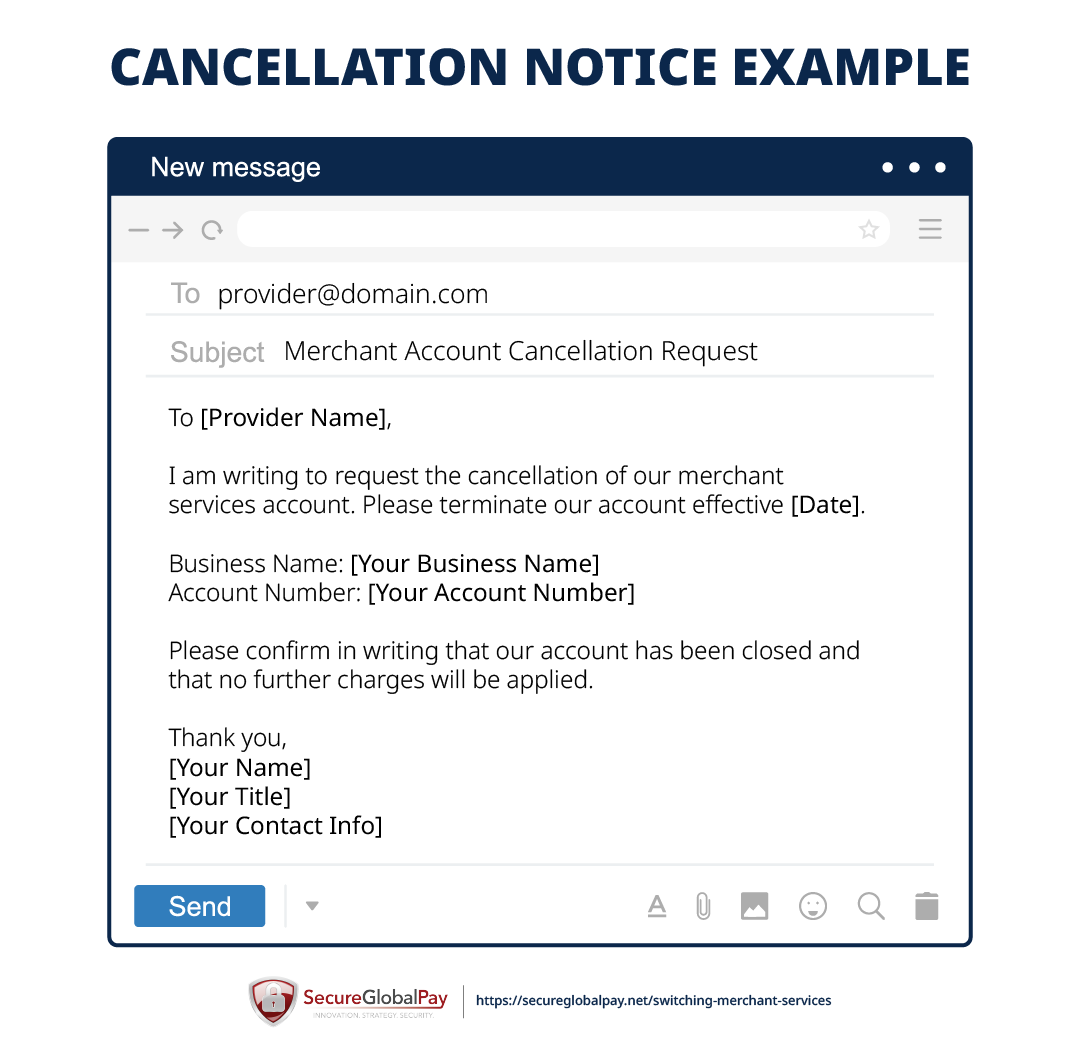
3. Submit a written cancellation notice
Most providers require formal, written notice to process a cancellation. This can usually be sent via email, fax, or regular mail. Make sure your notice includes:
- Your business name and merchant account number.
- A clear statement that you wish to cancel your merchant services.
- The reason for cancellation. (optional, but could help avoid additional back and forth).
- A request for written confirmation of receipt and account closure.
Keep a copy of the notice and any confirmation you receive for your records — this can help protect you if any issues arise later.
Here is an example of a simple cancellation notice:
4. Return any leased equipment
If your provider supplied you with point-of-sale (POS) terminals, free card readers, or other payment hardware, check whether it was leased, rented, or provided as part of your agreement.
- Verify return requirements: Some providers require equipment to be returned within a certain timeframe — usually within 15 to 30 days after cancellation.
- Get return instructions: If it’s not clear, ask your provider where and how to return the equipment. This might involve a prepaid shipping label or returning it to a specific address.
- Avoid late return fees: Failure to return leased equipment on time can result in extra charges or even a bill for the full value of the device.
Always keep shipping receipts or tracking information as proof that you returned the equipment properly.
5. Confirm final billing
After your account is closed and any equipment has been returned, make sure everything is officially settled:
- Request a final statement: This should show that your account is fully closed and list any last fees or credits.
- Verify no future charges: Monitor your bank account and merchant statements to ensure no unexpected billing occurs after cancellation.
- Document everything: Keep copies of your cancellation notice, return tracking info, and final billing statement for your records.
A clean, documented closure helps you move forward with confidence — and avoid unnecessary surprises down the road.
Steps for switching merchant services
To speed up the transition and ensure minimum downtime, you should find a new merchant services provider before canceling your current one.
We have a step-by-step guide you can follow to make the switch as smooth as it can be.
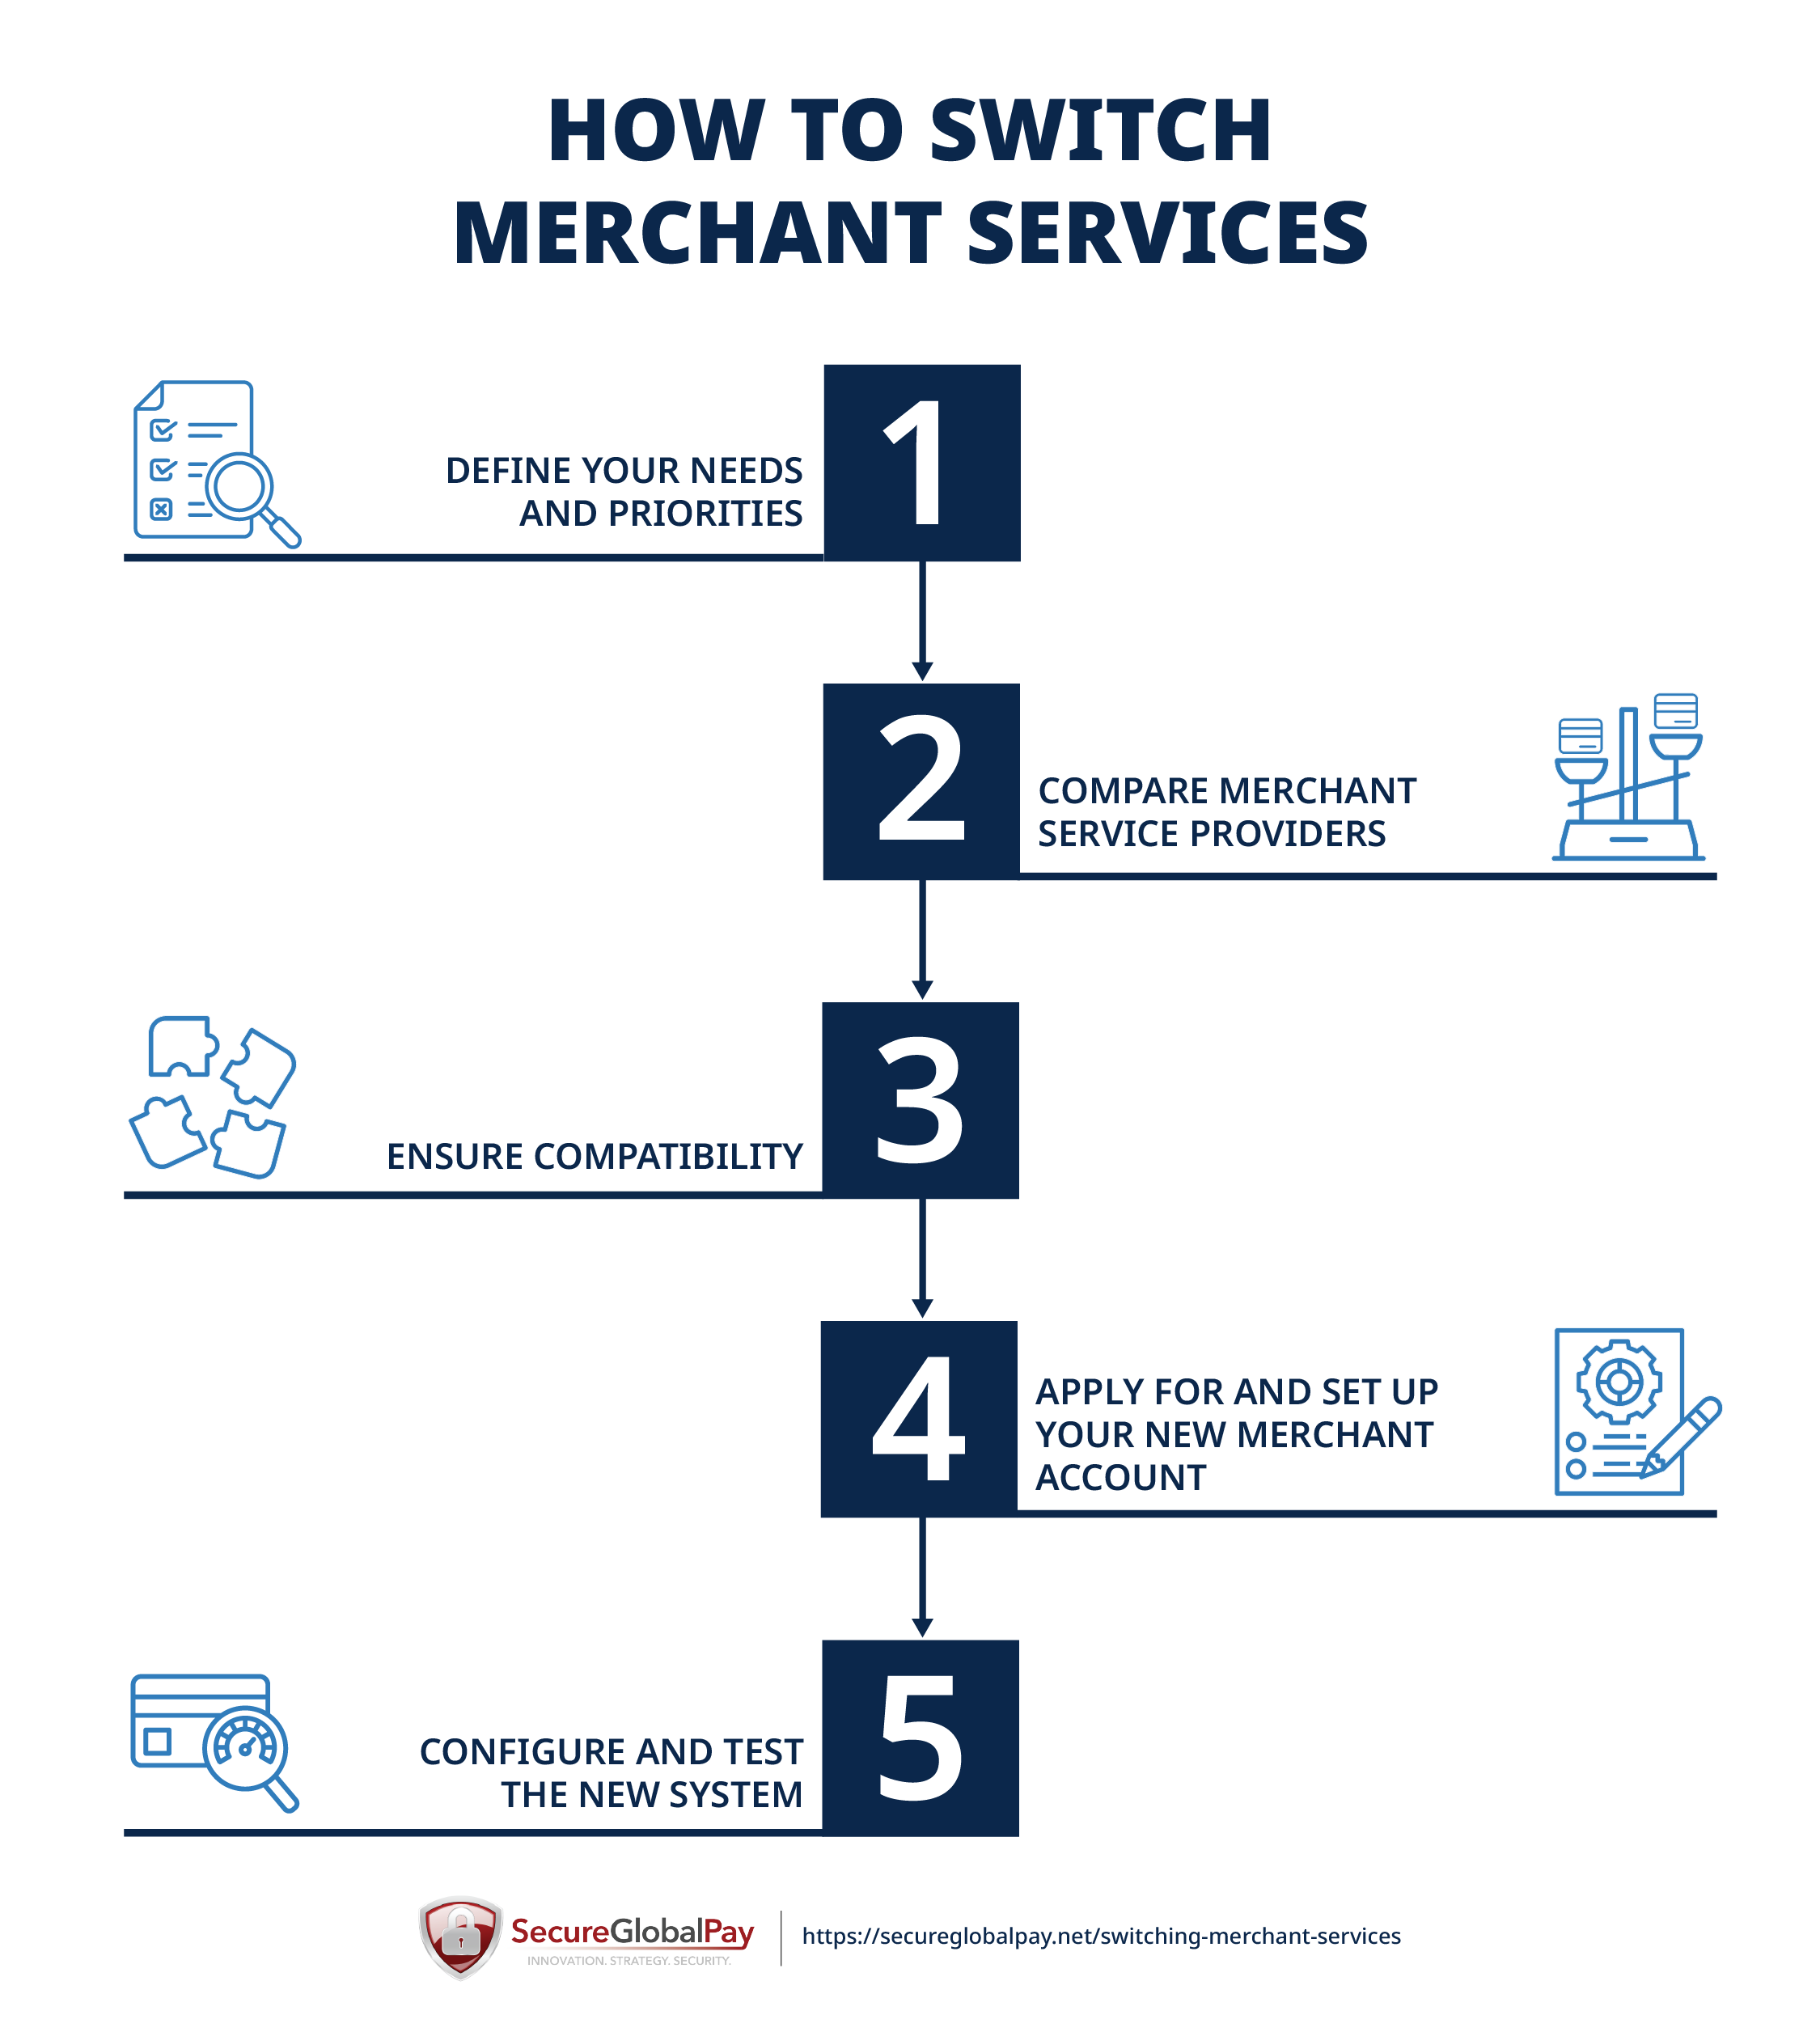
1. Define your needs and priorities
Before you start looking for a new provider, take a moment to evaluate what’s not working with your current setup — like high fees, slow support, lack of integration with your POS or eCommerce platform, etc. — and what you actually need going forward.
From there, it should be easy to make a shortlist of features that matter most and the service quality you expect.
This clarity will save you time and help you avoid another bad fit.
Look at your last 2–3 merchant statements. This will give you a clear picture of your average monthly volume, current fees, and any “questionable” charges. It’s also helpful to have these handy when comparing new providers or speaking with sales reps.
2. Compare merchant service providers
Once you know what you need, it’s time to shop around. Don’t just go with the lowest rate — look at the whole picture. A slightly higher fee might be worth it if it comes with better service, flexible terms, or deep integration options.
Here’s what to concentrate on when comparing providers:
- Contract flexibility: Look for month-to-month options or shorter. Look for more relaxed terms on your potential closure request. A sales rep who understands contract terms and the overall closure process should make you feel 100% comfortable with what you can expect when closing. with no auto-renewals or heavy cancellation fees.
- Pricing transparency: Watch out for hidden fees, tiered pricing structures, or unclear surcharges. Ask for a sample statement or cost breakdown.
- Customer support quality: Test it out — call or message support before you sign. A fast response now is a good sign of future reliability.
- Hardware compatibility: Make sure your existing POS or terminals will work with their system — or check what new equipment they provide.
- Payment options and features: Do they support tap-to-pay, mobile wallets, recurring billing, and online checkout? Choose based on what your customers expect.
- User reviews and reputation: Read recent reviews, not just the star ratings. Look for trends in complaints or praise — especially around billing and support.
Don’t hesitate to ask for a demo or talk to a sales rep. It’s a great way to see how they work and treat merchants before committing. You can always reach out to SecureGlobalPay for a free consultation.
Free Template for Comparing Merchant Service Providers
Our Google Sheet template arms you with 13 critical questions you should ask each provider to catch red flags and cut through the sales talk — with SecureGlobalPay’s answers already filled in for comparison.

3. Ensure compatibility
Before making the switch, double-check that the new provider’s system will actually work with your current setup. Compatibility issues can lead to delays, extra costs, or even having to overhaul your point-of-sale system.
Here’s what to consider:
- For in-person merchants: If you use a physical POS system, confirm whether the new provider supports your existing hardware. Some systems are proprietary and won’t work with outside providers. If upgrades are needed, ask whether they offer free or discounted hardware.
- For online or eCommerce merchants: Make sure the provider integrates with your website platform (like Shopify, WooCommerce, Magento, etc.). You’ll also want to confirm support for features like subscription processing, digital wallets, chargeback management, and fraud protection.
- When switching isn’t necessary: If you’re using widely supported hardware or third-party systems (like Clover, Square Register, or specific Ingenico terminals), you may not need to replace anything — just reprogram the device.
If everything makes sense regarding business type, various risk factors, and proposed volume processed, SecureGlobalPay also offers free POS hardware and software, including Clover, Dejavoo, Ingenico when you sign up.
Bottom line: Always confirm compatibility up front. It’s better to be safe than sorry.
4. Apply for and set up your new merchant account
Once you’ve chosen a provider, the application process is usually straightforward. You know the drill — you’ll typically need to provide:
- Basic business info (name, address, tax ID, website, etc.)
- Business banking details for deposits
- A few recent processing statements (if applicable)
- Information about your products/services and average ticket size

After approval — often within 24–48 hours (a bit longer for a high-risk merchant account) — you’ll receive login credentials, setup instructions, and any equipment you’re entitled to. If you sign up with SecureGlobalPay, you will also get assigned an experienced rep to guide you through the setup process, help with the transition, and monitor your account.
5. Configure and test the new system
Once your new account is approved, it’s time to get everything up and running. Depending on your setup, this might involve:
- Connecting your POS system or configuring the payment gateway (your payment services provider should be available to help)
- Installing any new software or apps
- Setting up payment methods (credit, debit, mobile wallets, etc.)
- Integrating with your website, inventory, or accounting tools.
Finally, before going live, be sure to:
- Run a few test transactions to make sure everything processes smoothly.
- Check that payments are being deposited correctly into your bank account.
- Show your team how to use the new system, from processing sales to issuing refunds.
Always complete your new merchant account setup and test your system before closing your current provider. This overlap helps you avoid downtime and ensures you’re ready to keep taking payments without interruption.
With this, you should have a smooth launch with minimal disruption to your daily operations.
Use SecureGlobalPay as your new merchant services provider
At SecureGlobalPay, we’ve helped dozens of businesses make a stress-free switch from outdated or overpriced merchant service providers. Whether you’re running a retail shop, a travel agency, an eCommerce store, or something in between, we offer tailored solutions to meet your needs.
Why switch to SecureGlobalPay?
- Fast, transparent setup: We walk you through every step, from application to activation, with no hidden fees or confusing terms.
- Free POS hardware and software: Many merchants qualify for free modern payment equipment when they sign up.
- Competitive, honest pricing: We keep rates clear and affordable — no fine print or surprise charges. Opt into our cash discounting and dual pricing programs to all but eliminate your processing fees.
- 24/7 U.S.-based customer support: Real help from industry veterans whenever you need it.
- Hundreds of integrations: With 200+ integrations, our payment gateway works with popular POS systems, shopping carts, and many different business software, so your operations stay connected.
- Scalable solutions for growth: Whether you’re adding new locations, launching online sales, or need to set up multiple merchant accounts, our services grow with you.
You deserve a provider that puts your business first. Contact our team to learn more or get a free quote.
FAQ
Start by reviewing your contract for early termination fees, auto-renewal clauses, and cancellation notice periods. Then contact your provider to confirm the process and submit a written cancellation request.
The “best” provider depends on your business needs, but look for transparent pricing, great support, modern hardware, and compatibility with your POS or eCommerce platform. SecureGlobalPay is a strong choice for businesses that want reliable service and scalable solutions.
Yes, but it depends on which version of QuickBooks you’re using. Some versions allow integration with third-party payment processors, while others work best with QuickBooks Payments. Check for compatibility before switching.
You can cancel by logging into your QuickBooks account, navigating to the account settings for payments, and following the steps to close your merchant services. You may also need to call customer support to complete the cancellation.
Review your contract for cancellation terms, then contact First Data (now Fiserv) customer service. Most cancellations require written notice and may involve returning leased equipment and settling final fees.
The process can take anywhere from 1–5 business days, depending on how quickly your new account is approved and how complex your setup is.
Not always. Some systems are compatible with multiple providers, but others are locked to a specific company. Check with your new provider to see if your current hardware will work or if you’ll need to upgrade.
Your new provider won’t have access to your old transaction records, so make sure you download and back up any data you want to keep before closing your old account.
Yes! Rates, equipment packages, and terms are often negotiable — especially if you process a decent monthly volume or bring statements showing your current costs and chargeback rates.